
Our B&W Process (And Why You Should Choose Noritsu)

We often talk about which scanner is the best choice when it comes to your film. With colour negative film, the decision is quite subjective, but luckily for you, with black and white it’s pretty cut and dry.
So let’s lay it down in no uncertain terms.
Without question, if you shoot black and white film, the Noritsu HS-1800 should be your go-to.
We know that’s a pretty big claim to make, but we can back it up with hard science.
We always scan black and white film on the Noritsu by default, so if you don’t usually choose a scanner you don’t need to stress, you’ve been getting the best results all along.
Most labs in Australia either don’t have use a Noritsu or don’t give you the option, but if you’d like to know why this decision should be a no-brainer, here’s the crux of it.
Sepia Tone
If you’ve noticed your black and white scans from other labs sometimes have a slight brown/sepia tone to them, that’s because Frontier black and white scans are always exported like this.
It is quite easy to correct, but requires a couple of extra steps in post.
The Noritsu exports true black and white files straight out of the scanner. The way it should be.
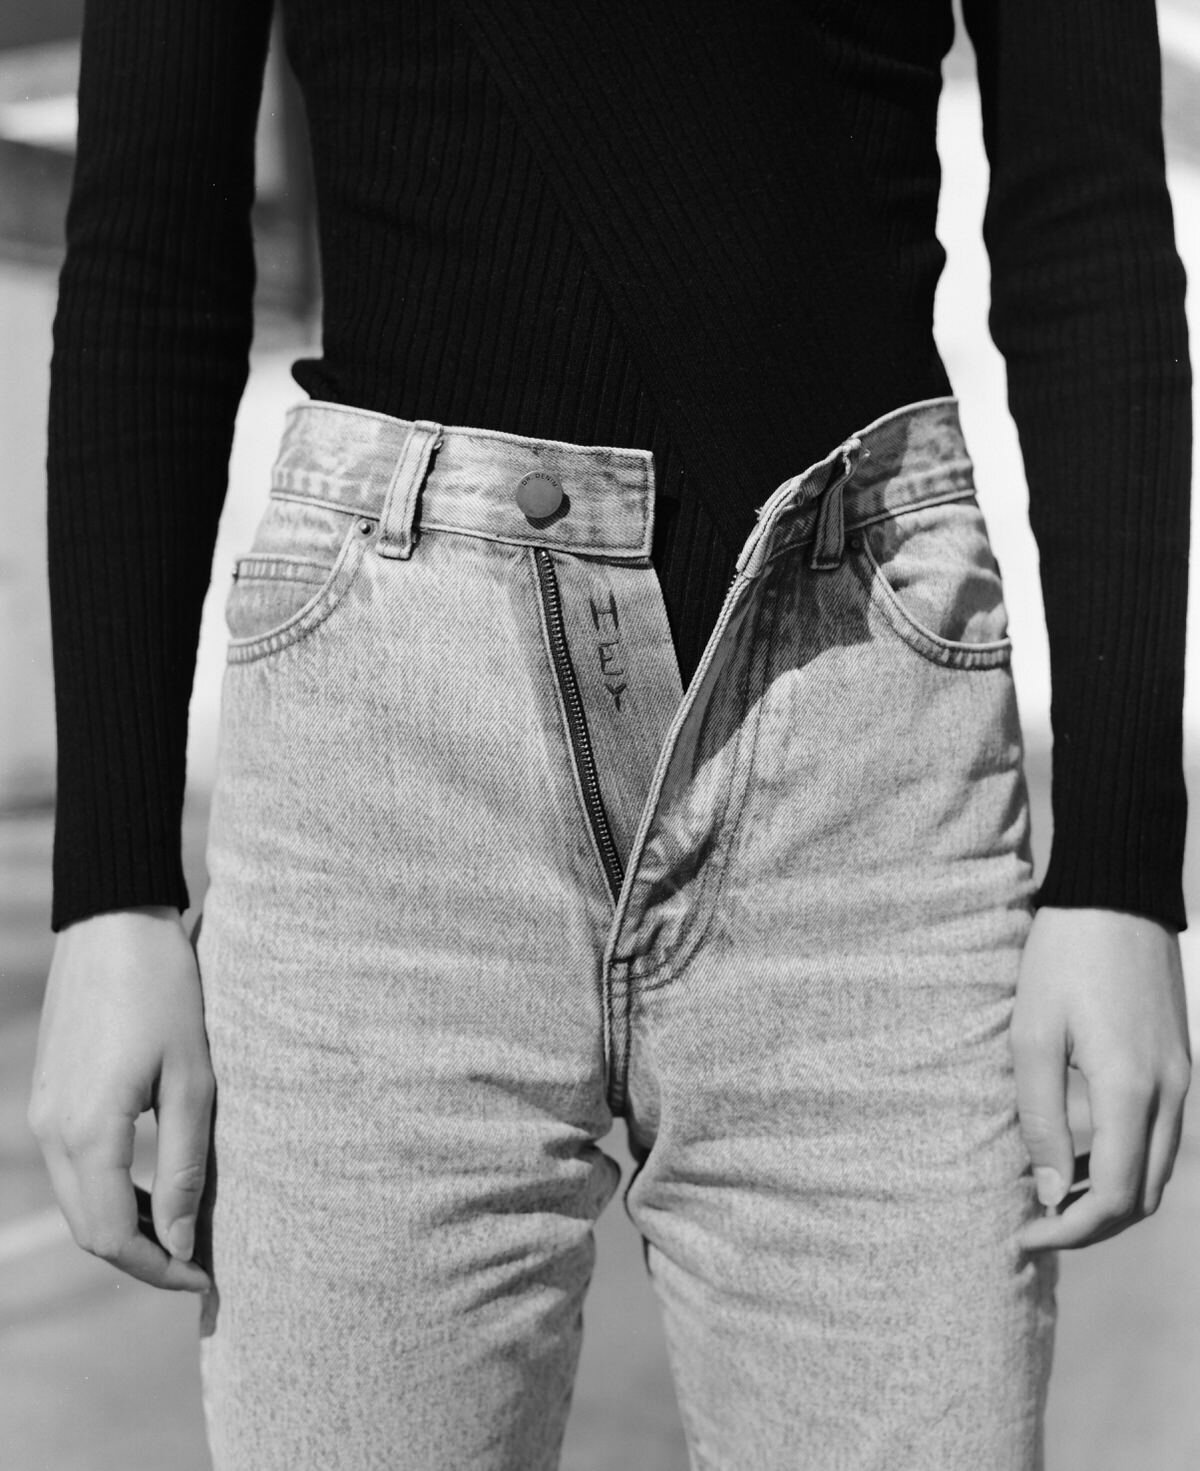
Dimitra Koriozos
Complete Adjustments
The Frontier is quite limited in the tonal adjustments you can make during scanning. Highlights and shadows can be “softened” or “hardened” but the extent to which this happens isn’t on a sliding scale, and often these adjustments can introduce “HDR” looking effects around the fringes of objects in your frame.
While this might not be noticeable in some photos, it can be quite jarring in difficult scenes.


In difficult scenes, the Noritsu lets us raise shadows, reduce highlights and even adjust the tone curve to get the maximum amount of information out of your negative.
We see black and white Frontier scans all the time with both blocked shadows and highlights in scenes where they shouldn’t be.
Having complete control of highlights, shadows, contrast and sharpening is incredibly important in getting you the best black and white scans possible.


Printing
If you’re planning to make large prints, we have to give another tick to Noritsu. While Frontier scans do print nicely, Noritsu scans have a slight edge due to the way in which grain is resolved and the fact that higher resolutions aren’t interpolated.
The Noritsu is focused down to grain level and scans can be dialled in specifically for the film’s grain structure. This texture you see results in beautiful prints with phenomenal detail.
The Frontier is still capable of good prints, but if you want to see the beautiful grain and character of your film, the Noritsu is the way to go.

Shadow Detail/Quality
The Noritsu has a bit of an edge in regards to shadow quality too. It isn’t uncommon for Frontier black and white scans to look a bit muddy in shadow areas and show a little less detail. This isn’t extremely noticeable in day to day use, but in certain scenes you will see a difference, especially if you like to edit your scans and raise your shadows.
If the information is there, the Noritsu will pull it out.


The Final Touches
We hate seeing when a piece of dust ruins a good photo.
Unfortunately, the dust detection and removal system used on C-41 film doesn’t work on black and white. This means that some small amounts of dust are unavoidable.
When they invent automatic black and white dust removal we’ll let you know!
Until then, we spot each roll for dust and tweak for consistency before delivery. This ensures a client ready set of scans every time.
So…What Now?
The good news is you don’t need to do anything if you’re already having your black and white done with us. We will always scan your black and white work on the Noritsu by default and you don’t need to specify.
If you have any questions about our scans, we’d love to help. Get in touch below.